Advanced CRT Emulation and Signal Corruption
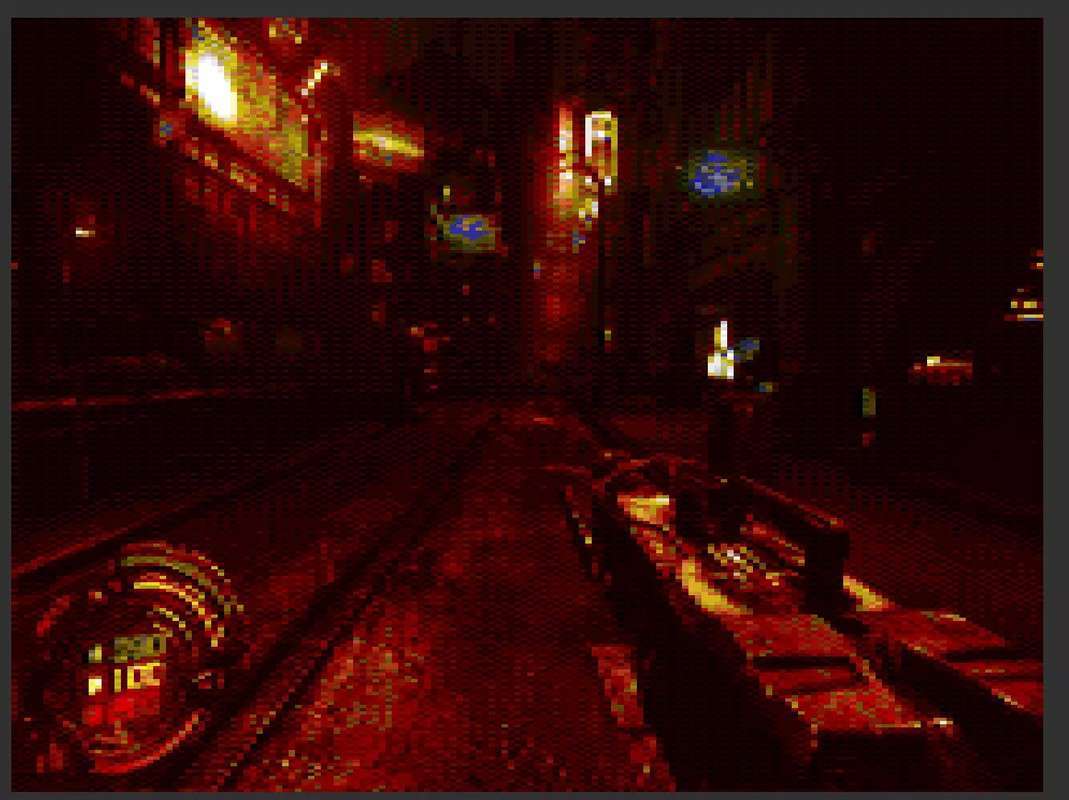
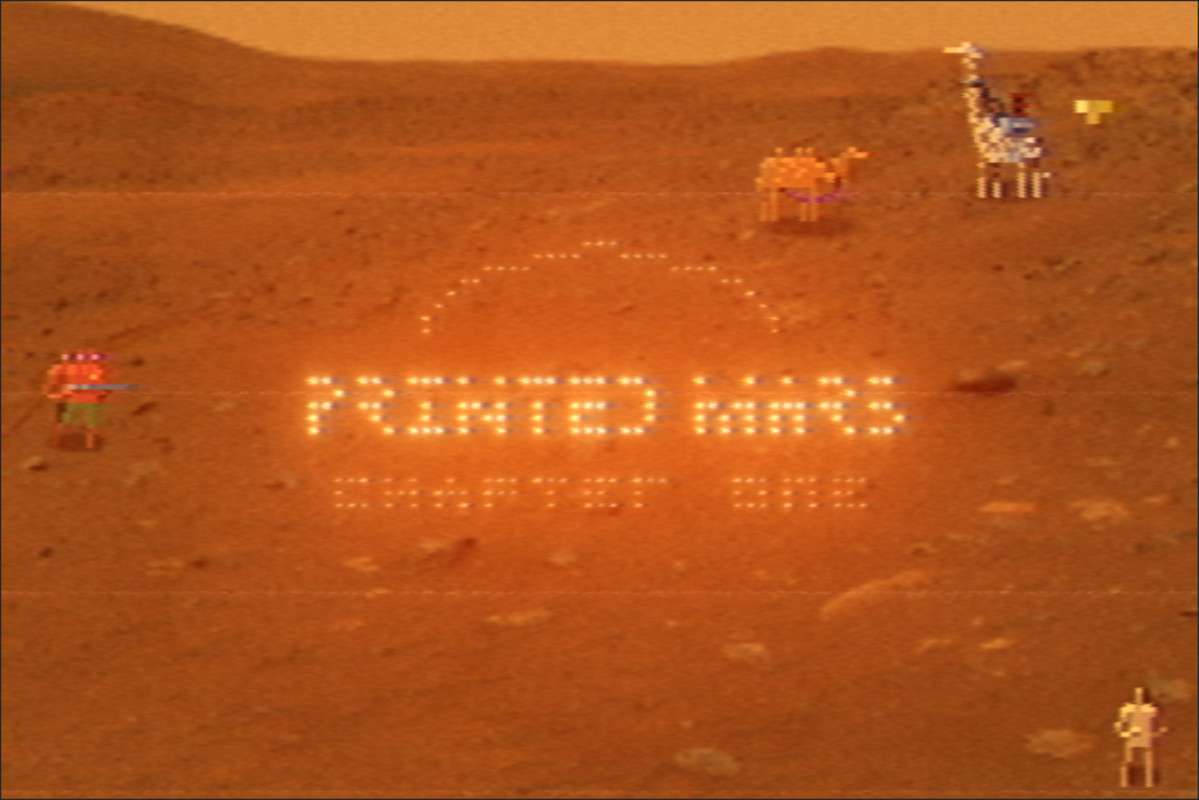
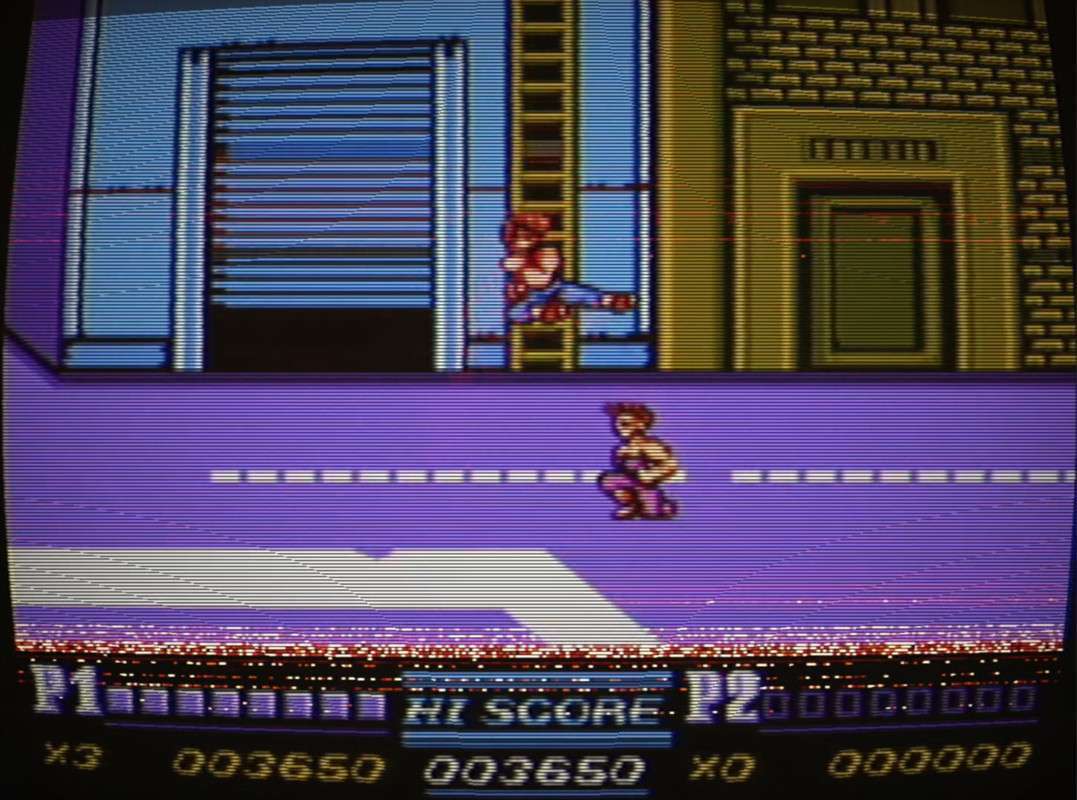
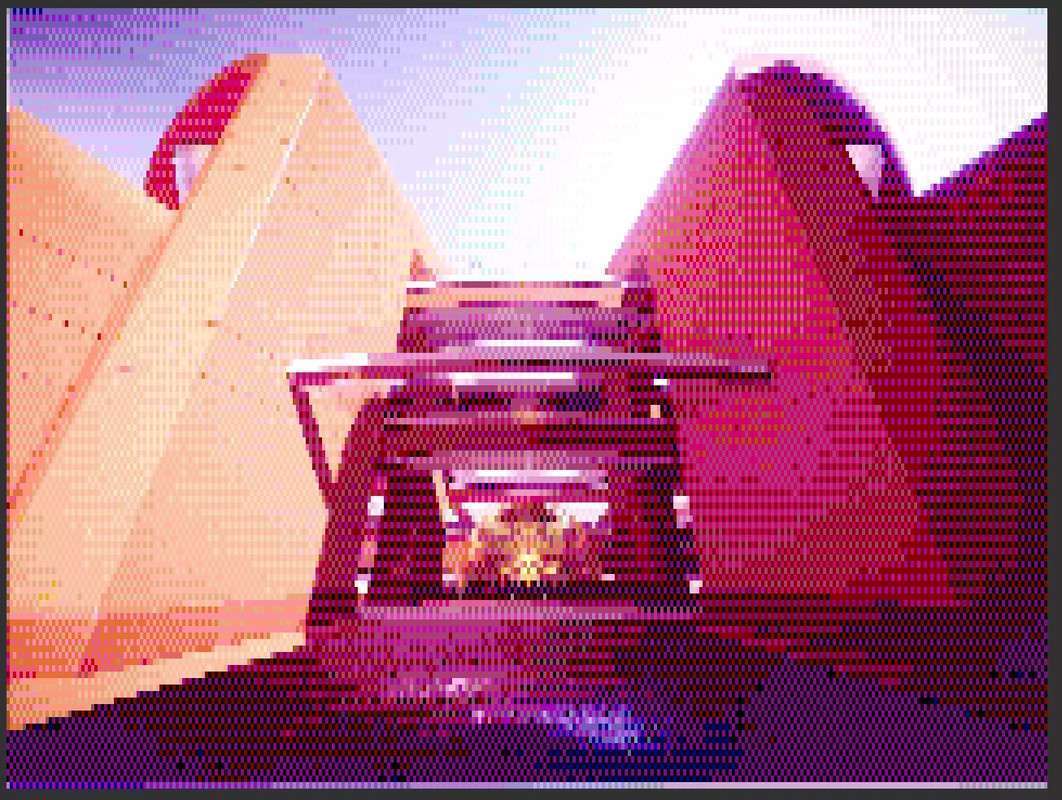
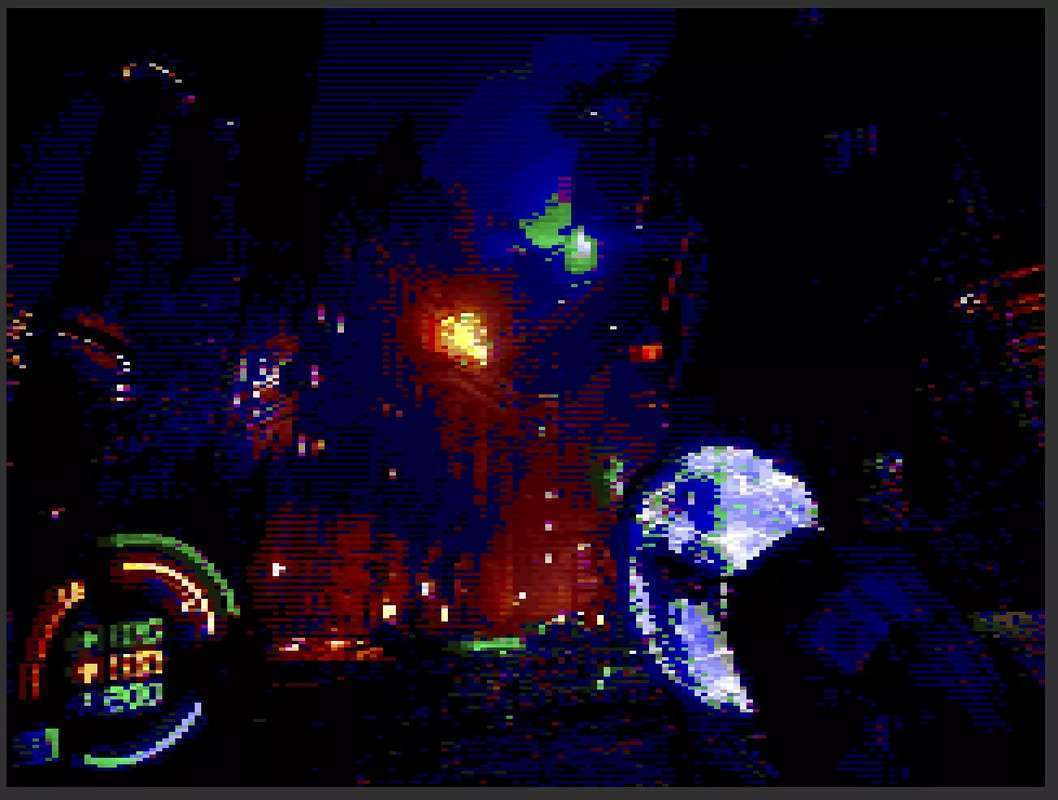
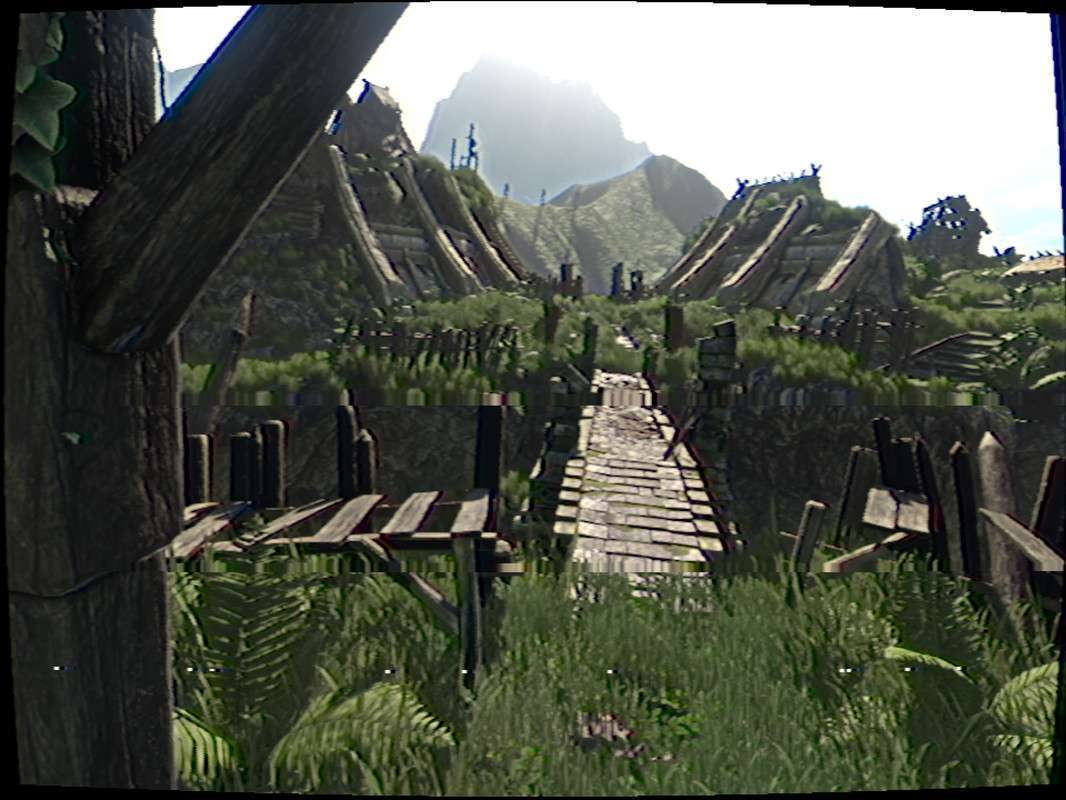
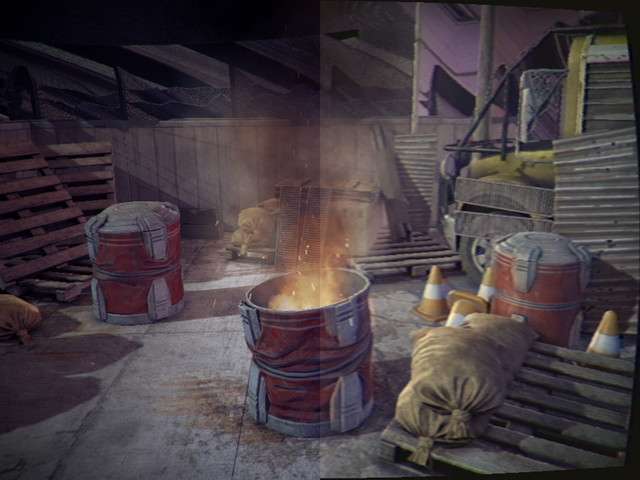
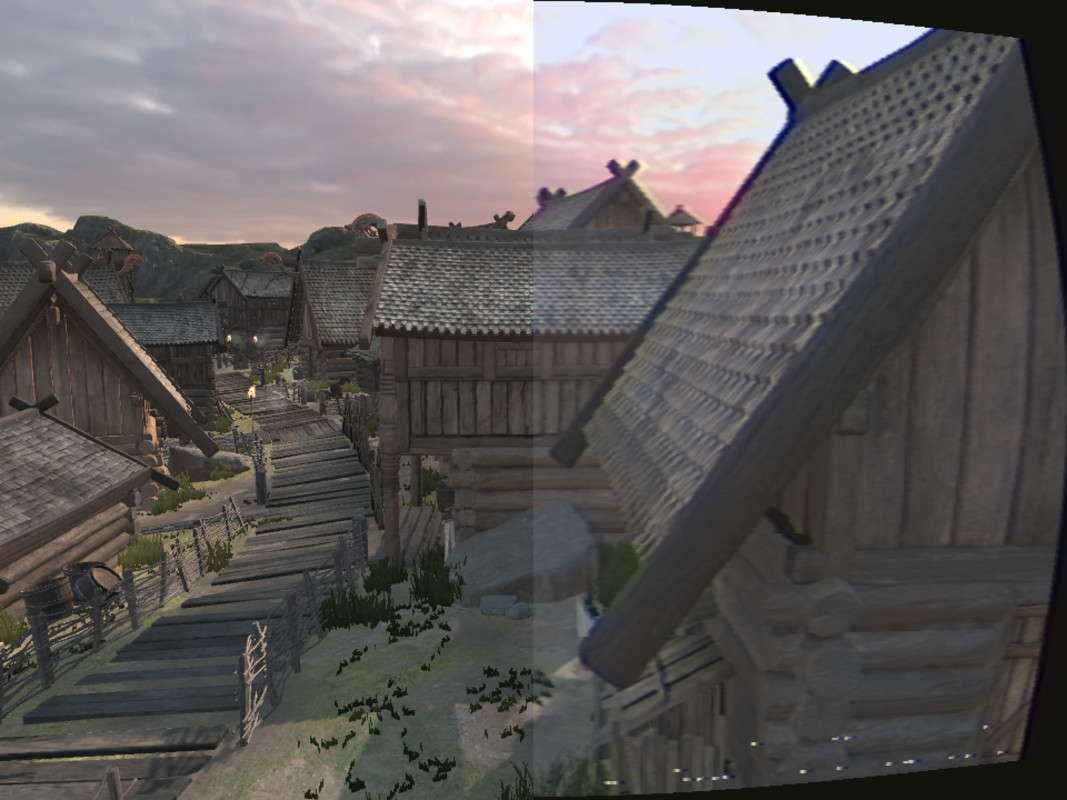
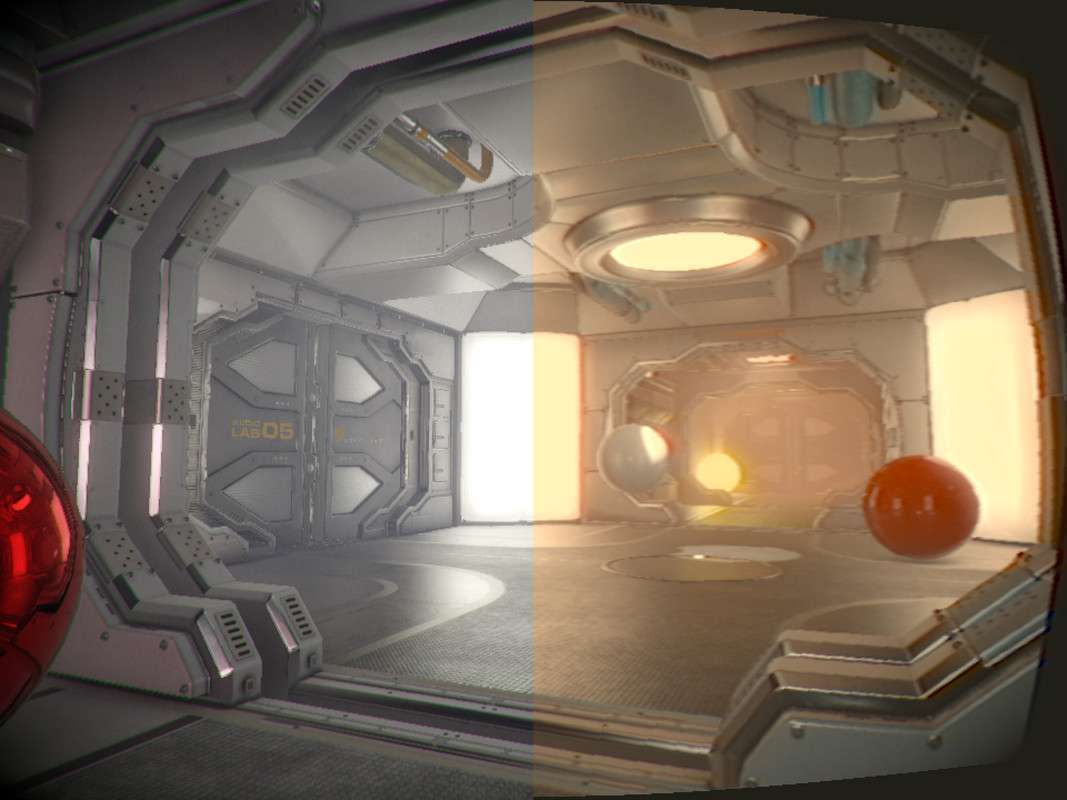
Implementing a convincing retro aesthetic requires more than just a low-res filter; it requires the signal-level simulation found in VHS Pro Unity 2.1.0. This asset moves beyond simple overlays by emulating NTSC/PAL encoding, phosphor decay, and analog jitter. For leads working on horror or retro titles, the YIQ color space downsampling is a game-changer, as it accurately recreates the color ‘bleeding’ characteristic of 1980s magnetic tape media.
Integration Tips
- URP Render Graph Compatibility: If you are targeting Unity 6, ensure you are using the Render Graph specific version of the package. You will need to add the VHS Pro ‘Full Screen Pass’ or custom Volume component to your Universal Renderer Data to see the effect in the Game view.
- Order of Operations: Always place the VHS Pro effect after Bloom but before any UI-only cameras in your rendering stack. Placing it before Bloom can lead to unnatural artifacts in the phosphor trail, while placing it after the UI will distort your HUD, which may or may not be the desired look.
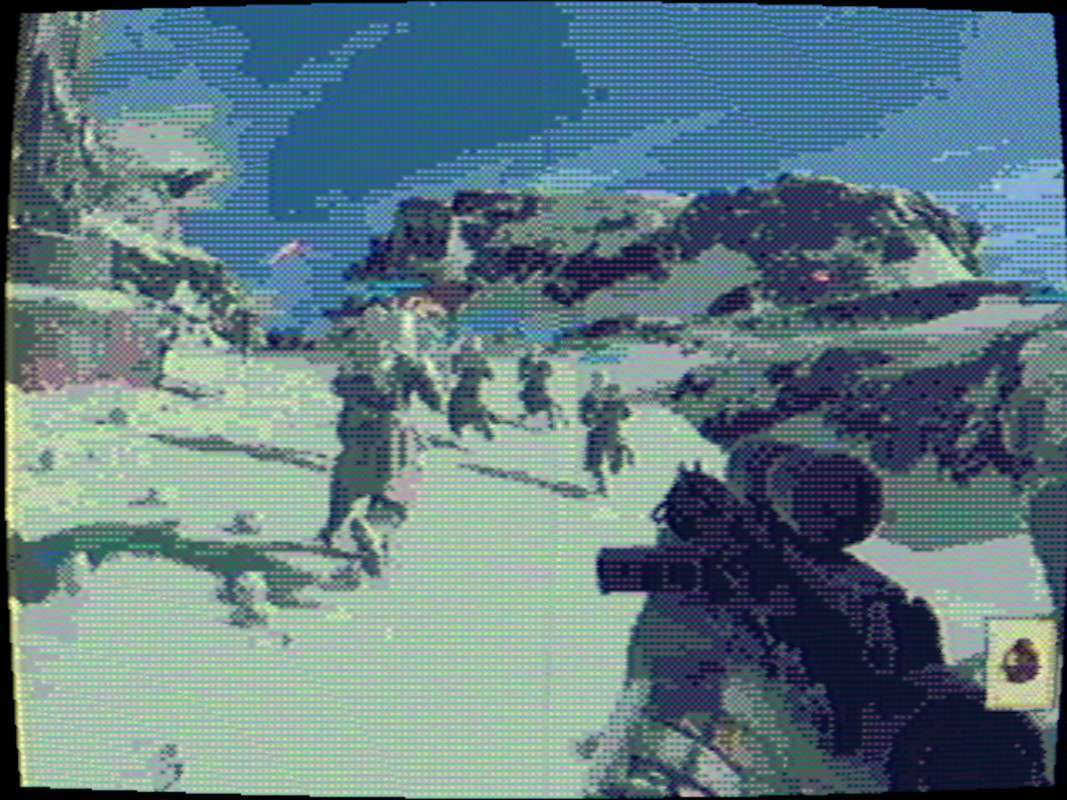
- Performance Tuning: The ‘Jitter’ and ‘Twitch’ features are computationally inexpensive, but high-sample ‘Phosphor Trail’ can impact the GPU. Use the ‘Bypass Texture’ feature for elements like the Reticle or Minimap to keep them legible while the rest of the world is processed.
Best Use Cases
- Found Footage Horror: The tape noise and signal corruption presets are industry-standard for creating tension. The ‘unscaled time’ tool is essential here, allowing the glitch effects to continue even if the game is paused or slowed down for dramatic effect.
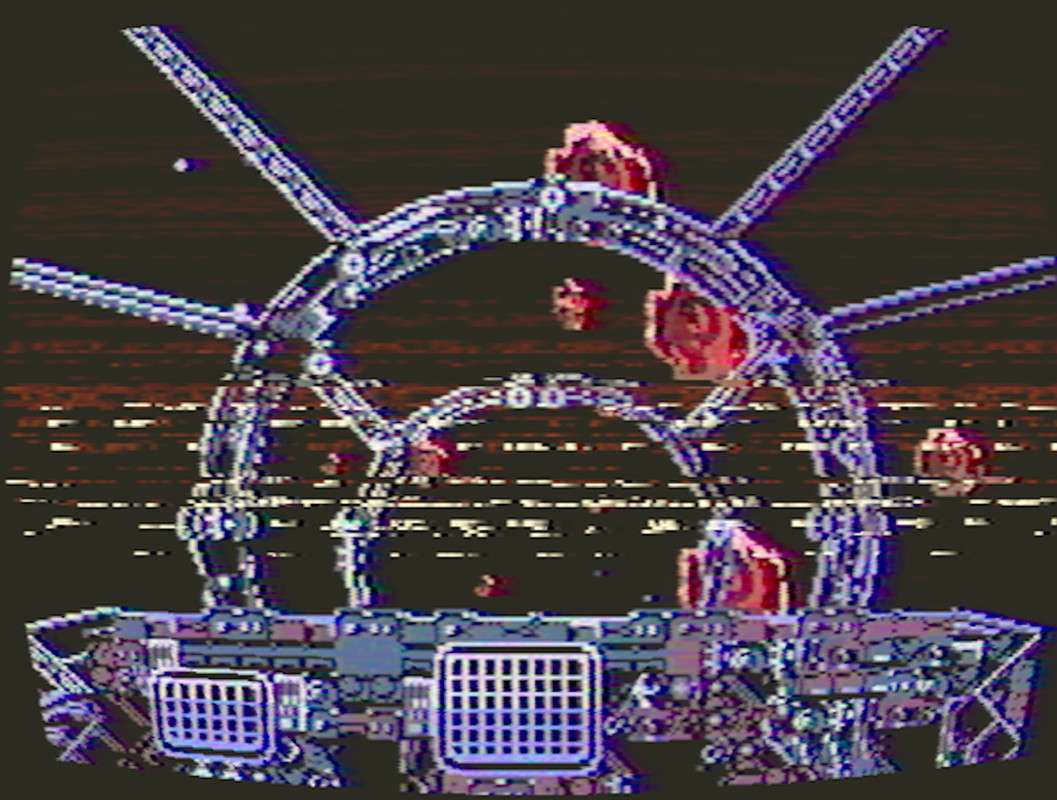
- Diegetic Computer Terminals: Use the pixelization and CRT emulation on a Render Texture to simulate in-game security monitors or 8-bit computer screens within a 3D environment, providing a layer of immersion that static textures can’t match.